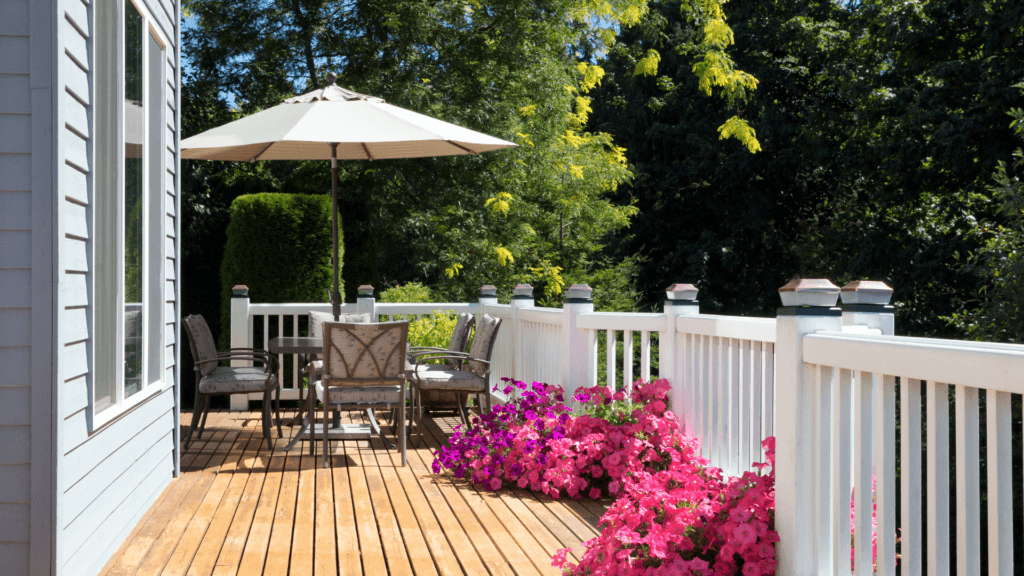
Out here in Nebraska, the wind finds every gap. We built a raised deck off the back of the farmhouse the year my second grandson was born, and by the following spring there was a possum living under it, half a bale of straw the wind had shoved into the corner, and a coffee can my wife Eileen swore she'd never set down out there. That was the year I finally got around to skirting it. If you're sitting on a deck with daylight showing under the joists, this is for you.
Enclosing the underside of an elevated deck isn't complicated work. It's a Saturday or two if your weather holds. The trick is picking a material that suits the house, building a frame that won't sag in five years, and leaving yourself a way back in when something needs fixing.
Why bother enclosing it at all
A raised deck sits on posts, usually four to eight feet apart. That open space underneath collects everything the wind brings: leaves, paper, plastic bags, the neighbor's missing ball cap. It also makes a fine den for raccoons, skunks, feral cats, and around here, the occasional groundhog. None of those are tenants you want.
A skirt also keeps small kids and dogs from crawling under and getting stuck on a nail or a spider. And if your basement windows sit low, an open deck gives a stranger a place to crouch out of sight. None of those reasons are dramatic on their own. Put them together and skirting earns its keep.
Pick the material before you pick up a saw
Most folks use one of these:
- Wood lattice. The diagonal criss-cross panels you see at the lumberyard. Cheap, easy, lets air through. The vinyl version lasts longer but looks plasticky up close.
- Vertical tongue-and-groove or board-and-batten. A solid look that suits a farmhouse or any house with vertical siding already. Takes paint or stain.
- Horizontal lap siding. Match it to the house and the deck disappears into the silhouette. This needs a plywood backer behind it, which I'll get to.
- Composite or PVC panels. The newer option. Costs more up front, but I haven't had to touch the small section I did on the south side in eight years. No paint, no rot, no carpenter bees chewing on it.
- Stone veneer. Pretty if you've got the budget and a house that can carry it. Heavier work and most folks hire it out.
The 2024 and 2025 builder write-ups I've read all push composite and vinyl hard, mostly because they're maintenance-free. That's true. But a coat of exterior latex on cedar lattice every five or six years isn't a hardship, and the wood looks better the day it goes up. Pick what you'll be willing to look at for fifteen years.
One rule that doesn't change: try to coordinate with the siding on the house. A deck skirt that fights the house always loses.
Before you start, look underneath
Walk under there with a flashlight. Note where the hose bibs are, where the dryer vent comes out if it does, whether there's an outdoor outlet on a post. If you're going to bury any of that behind the skirt, run new lines or move the outlet out to the skirt face now, before you close it in. Call a licensed electrician or plumber if it's anything more than a hose hookup. I tried wiring an outdoor receptacle myself once back in the eighties; it worked fine until it didn't, and the fix cost more than the electrician would have.
Also check the grade. The bottom of your skirt should sit flush with the ground or just barely above it. Bury the bottom edge and you're inviting rot, no matter what material you use. If the ground slopes, scribe the bottom of the skirt to follow it.
Build the frame
This is the part that matters. The skirt material is just cladding. The frame is what holds it square for the next twenty years.
- Cut treated 2x4s to fit between the deck posts at the top and bottom. Top one tucks up under the deck framing, bottom one sits an inch or two above grade.
- Fasten them to the posts with 3-1/2 inch deck screws. Two screws per end, predrilled if your treated lumber is dry and brittle.
- If your runs between posts are over six feet, throw a vertical 2x4 in the middle so the skirt has something to bite in the center. It'll save you a wavy look later.
- For horizontal lap siding, screw a sheet of 3/4-inch treated plywood to those 2x4s. That's your nailer. Vinyl and hardboard both want a solid backer or they oilcan in the heat.
Hang the skirt
Lattice goes up with 1-inch screws or finish nails into the top and bottom 2x4s. Cut it to height with a fine-tooth blade and don't rush the cuts; ragged lattice looks like ragged lattice for the rest of its life.
Vertical board siding starts at one corner. Measure carefully, plumb the first board with a level, and work across. Plan your seams so you don't end up with a two-inch sliver on the visible end. If you have to, cut the first and last board the same width to balance it.
Chicken wire or welded fence wire works too, and I won't tell anyone. It keeps the critters out and the leaves in, which is most of the job. It's not pretty, but on the back side of an outbuilding nobody sees, who cares. Use galvanized poultry staples, not the little brass ones.
Leave yourself an access door
This is the step folks skip and regret. Build at least one section as a hinged door. You will, at some point, need to get under there to chase a hose leak, retrieve a baseball, or run a new wire. A 2x3 foot opening with a couple of strap hinges and a hasp is plenty. If you've got grandkids or a dog that thinks it's a den, add a padlock.
Trim the top and bottom of the finished skirt with a piece of 1x4 cedar or whatever moulding suits the house. The trim hides any wavy cut lines and makes the whole thing look like you meant it.
What it'll cost you and what to expect
For a deck twelve by sixteen feet, two feet off the ground, you're looking at maybe forty to seventy dollars in lattice, another thirty in framing lumber, screws and trim. Composite panels for the same job will run two to three times that. Either way it's an afternoon job, two if you're particular.
Once it's up, give it a season. Walk around it after the first hard rain and after the first freeze. If anything's lifting or warping, deal with it then while you remember how it went together. After that, a coat of paint every few years and you're done thinking about it.
That's the whole job. A clean line at the bottom of the deck, no more raccoons, and one less place for the wind to stash debris. Worth a Saturday.